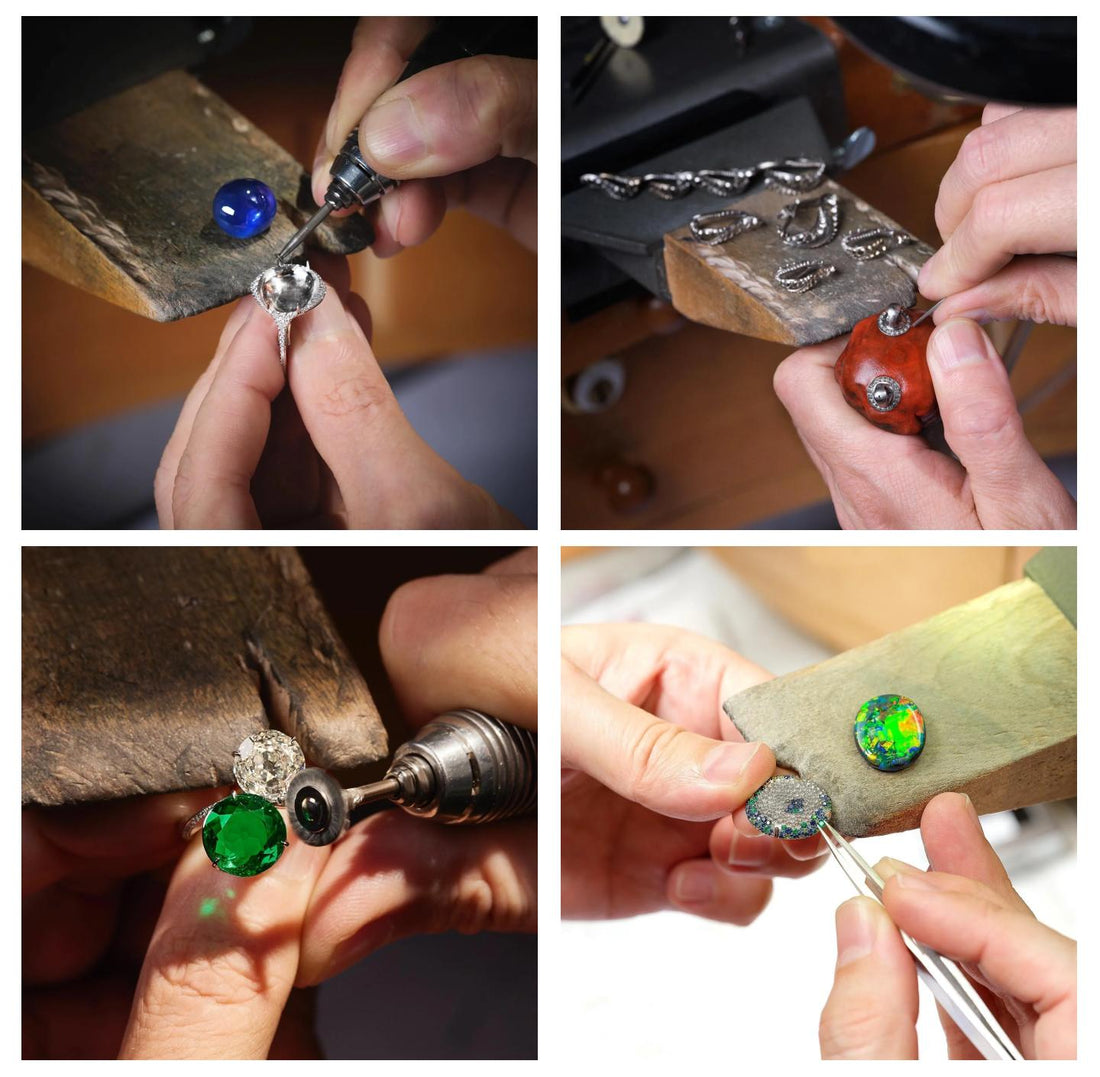
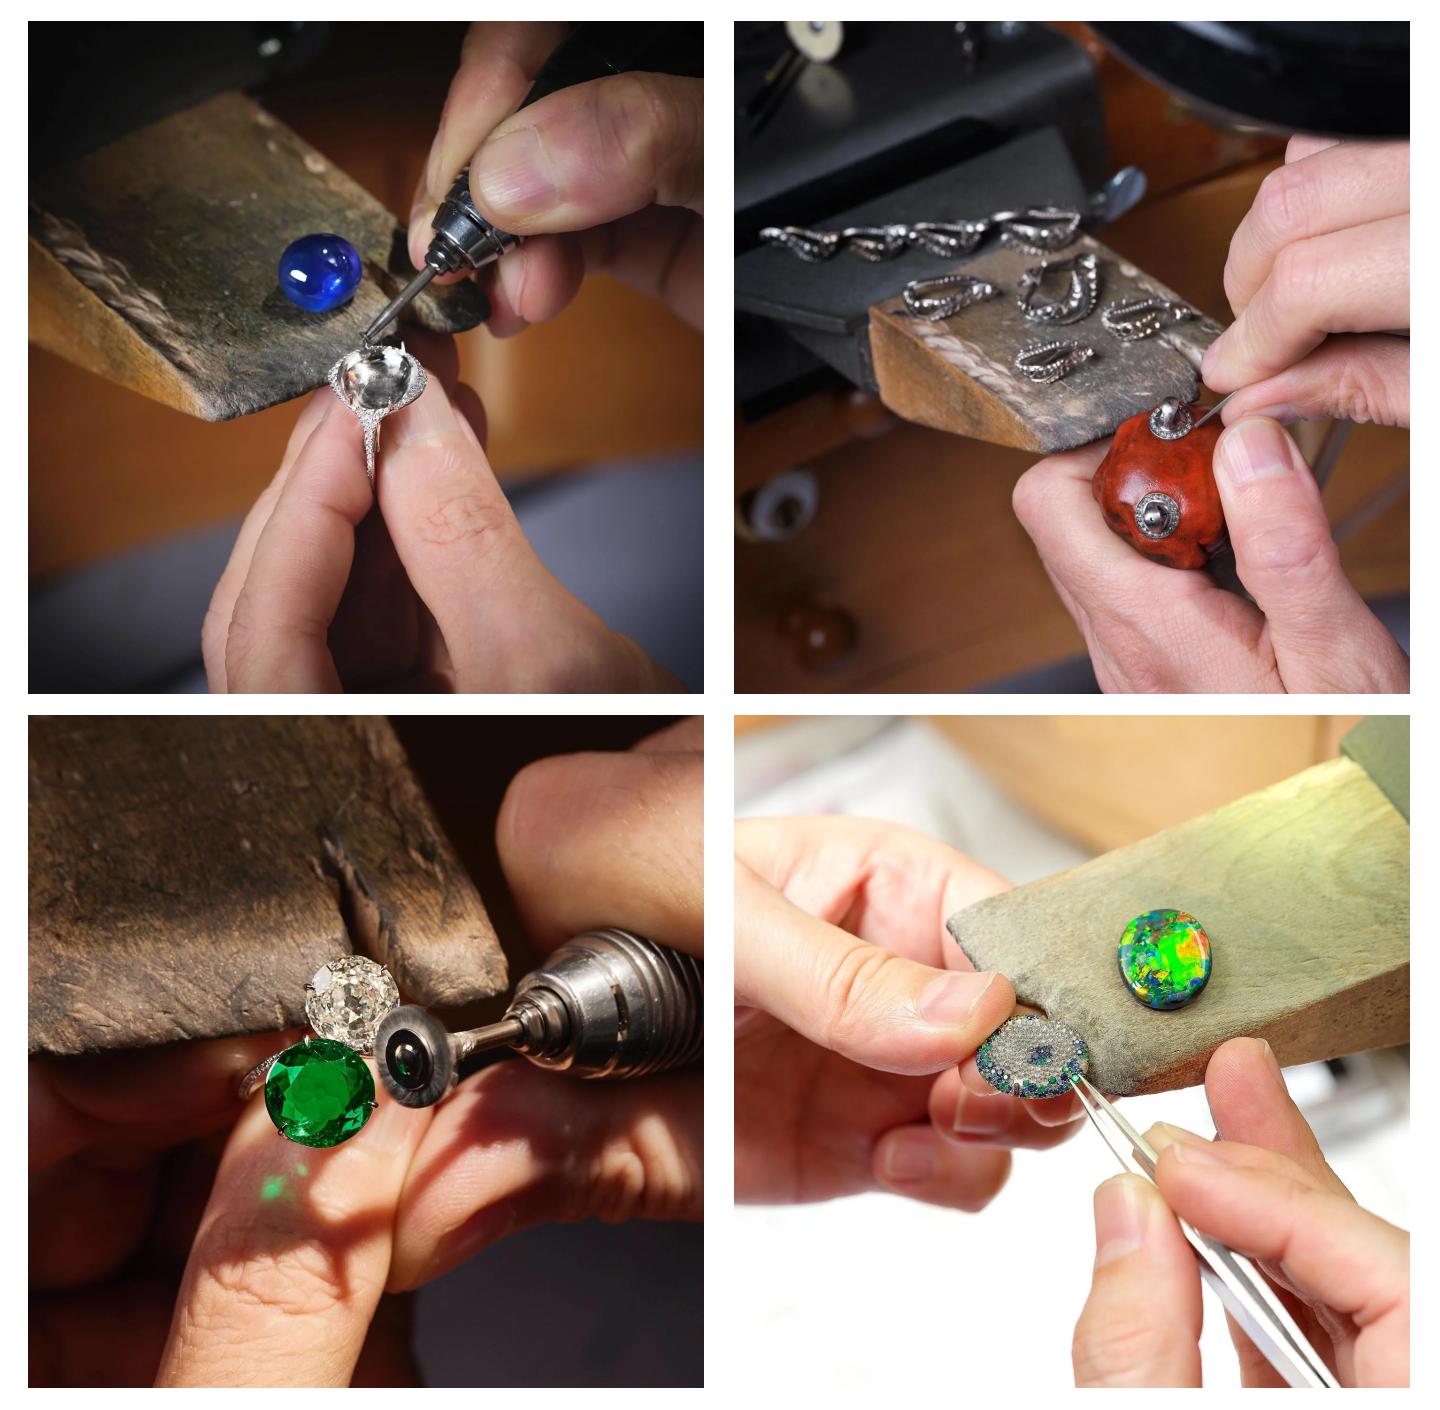
S925 gold-plated (vermeil) jewelry combines the elegance of gold with the affordability of sterling silver, but everyday wear can lead to emergencies such as broken clasps, tarnish, loose stones, or bent components. Knowing when to attempt emergency DIY repairs and when to seek professional service can save you money and protect your precious pieces.
1.Common Emergency Issues with S925 Gold-Plated Jewelry
1-1 Broken or Loose Clasps and Jump Rings
- Symptoms: A clasp pops open, chain detaches, or a jump ring opens unexpectedly. Such failures often occur from repeated stress or accidental pulls.
- Why It Matters: Without a working clasp/jump ring, you risk losing the piece entirely.
1-2 Tarnish or Discoloration
- Symptoms: Gold plating fades in spots, underlying silver darkens, or plating wears off due to friction, sweat, or chemicals.
- Why It Matters: Tarnish affects appearance and may signal plating thinning; untreated, it can accelerate deterioration of the vermeil layer.
1-3 Loose Stones (Pearls, Natural Stones, CZ)
- Symptoms: Settings loosen, stones wobble or risk falling out. Frequent when prongs wear or adhesive degrades.
- Why It Matters: Lost stones reduce value and aesthetics; emergency attention prevents permanent loss.
1-4 Bent or Deformed Components
- Symptoms: Rings out of shape, earrings bent, chain links kinked. Often from accidental impact or storage mishaps.
- Why It Matters: Deformation can make pieces uncomfortable or unsafe to wear, and may worsen if unaddressed.
2. DIY Emergency Repair: When & How
DIY repairs can be convenient and cost-saving for minor emergencies, but must be approached cautiously to avoid further damage to plating or structure.
2-1 When to Attempt DIY
- Minor Clasp/Jumpring Fixes: If a jump ring has opened slightly or clasp disconnects, a gentle DIY fix may suffice.
- Temporary Emergency Holds: In urgent situations (e.g., event imminent), a paperclip or safety pin can temporarily secure a broken clasp until proper repair.
- Surface Cleaning/Tarnish Removal: Light tarnish can be removed gently at home using mild soap and water, soft cloth, or very gentle polishing with a microfiber cloth—avoid abrasive methods that strip gold plating.
2-2 Essential Tools for DIY
- Jeweler’s Pliers Set: Small chain-nose and round-nose pliers with smooth jaws to open/close jump rings without scratching plating.
- Magnifier or Loupe: For inspecting tiny parts like jump rings, prongs, or hallmarks.
- Soft Cloths & Mild Cleaning Supplies: Microfiber or lint-free cloth, mild dish soap, lukewarm water; avoid chemicals that erode plating.
- Temporary Fix Materials: Small safety pins or paperclips (as emergency placeholders only).
- Jewelry Adhesive (Optional for Stones): A minimal amount of non-corrosive jewelry adhesive designed for metal settings, for very temporary stabilization (seek professional reset as soon as possible).

2-3 Step-by-Step DIY Fixes
2-3.1 Repairing a Slightly Open Jump Ring
- Identify the damaged jump ring: Use loupe to inspect the gap.
- Use chain-nose pliers: Grip each side of the opening; gently twist ends sideways (not pulling apart) to realign and close the ring. Ensure ends meet flush to prevent snagging.
- Check for integrity: Tug lightly—if the ring reopens easily, consider replacing with a matching jump ring (purchase replacement of similar gauge and plating).
- Preventive measure: For high-stress connectors, consider soldering (professional) later if frequent reopening occurs.
2-3.2 Securing a Broken Clasp Temporarily
- Temporary workaround: Use a small safety pin or paperclip to link chain to itself as a makeshift clasp for immediate wear.
- Permanent repair: Replace the broken clasp with a new one: open adjacent jump ring (as above), remove old clasp, attach replacement clasp, close ring flush. Use pliers carefully to preserve plating.
2-3.3 Loose Stone Stabilization
- Inspect setting: Under magnification, see if prongs are slightly bent outward.
- Temporary adhesive: Apply a tiny amount of jeweler’s adhesive inside setting to hold the stone lightly—only for short-term emergency; beware adhesive may complicate professional reset later.
- Schedule professional reset: DIY is only interim; repeated home attempts risk plating damage or breakage of delicate prongs.

2-3.4 Straightening a Bent Component
- Gentle manual adjustment: For minor bends (e.g., ring slightly out-of-round), use ring mandrel or gently press back with padded pliers. Be extremely cautious—excessive force can crack plating or deform metal beyond repair.
- When in doubt, pause: If unsure, avoid further DIY bending and seek professional jeweler to prevent irreversible damage.
2-3.5 Light Tarnish Removal
- Prepare mild solution: Mix a few drops of mild dish soap in lukewarm water.
- Dip and gently wipe: Use a soft cloth dampened (not soaked) to wipe plating lightly.
- Dry thoroughly: Pat dry immediately to avoid moisture left on silver base.
- Avoid abrasive or acid-based cleaners: These can strip the gold plating prematurely.
2-4 Risks of DIY Repairs
- Stripping or Scratching Gold Plating: Pliers without protective jaw covers or excessive force can wear off plating, exposing silver base prematurely.
- Weak Temporary Fixes: A hastily closed jump ring may reopen unexpectedly, risking loss of the piece.
- Incorrect Stone Handling: DIY adhesive application may misalign stone or damage delicate nacre (pearls) or plating around settings.
- Deformation Beyond Repair: Improper bending can cause metal fatigue, making professional reshaping impossible or more costly.
- Voiding Warranties: Some brands’ warranties or replating guarantees may require professional-only servicing; DIY may void such coverage.
3. Professional Repair Services: When & Why
Certain repairs and maintenance tasks are best entrusted to skilled jewelers, especially for S925 gold-plated pieces where plating integrity and precious settings matter.
3-1 When to Seek Professional Service
- Replating / Regilding: When gold layer is worn through or uneven, professional replating (electroplating to ≥2.5 microns for vermeil) restores appearance and protects silver base.
- Soldering or Reshaping: Complex soldering (e.g., resizing rings, repairing soldered jump rings), or reshaping bent components beyond minor DIY adjustments.
- Stone Resets & Prong Repairs: Secure resetting of pearls, natural stones, or CZ with correct pressure and protective measures to avoid damage.
- Clasp Replacement & Reinforcement: Installing sturdier clasps or reinforcing connectors, especially for high-use pieces.
- Deep Cleaning & Polishing: Ultrasonic cleaning, steam cleaning, or professional polishing that safely treats vermeil without stripping plating.
- Inspection & Preventive Maintenance: Annual or biannual check-ups to catch early wear, tighten settings, and plan replating before emergencies arise.
3-2 Choosing a Reliable Jewelry Professional
- Experience with Gold Vermeil: Confirm the jeweler or repair service has expertise plating and repairing vermeil pieces; ask about replating thickness and methods used.
- Certifications & Reviews: Look for certifications (e.g., Gemological Institute affiliations) or positive customer reviews specifically mentioning vermeil or gold-plated repairs.
- Transparent Pricing & Estimates: Obtain a detailed quote: plating thickness, materials (gold karat for plating), labor costs, turnaround time.
- Warranty/Guarantee: Some services offer a warranty on replating or repair workmanship—this reflects confidence in quality.
- Turnaround Time & Communication: In emergencies, quick service may be needed; ensure the provider can handle urgent repairs without rushing quality.
3-3 Professional Repair Process Overview
- Assessment: Jeweler inspects piece under magnification to identify wear points, plating condition, and structural integrity.
- Cleaning: Pre-repair cleaning to remove dirt, old adhesive, or oxidation, ensuring solder and plating adhere properly.
- Soldering / Reshaping: Use controlled heat and tools suitable for sterling silver; protect existing plating where possible or replate after soldering.
- Stone Work: Reset or secure stones with appropriate prong adjustment or rebedding, taking care not to harm plating around settings.
- Replating: Electroclean → strike layer → build-up layer to target thickness → final polish and protective coating if applicable.
- Quality Check: Verify clasp strength, plating uniformity, and overall finish before returning to customer.
4. Cost Comparison: DIY vs. Professional
4-1 DIY Cost Considerations
- Tool Investment: Initial purchase of pliers, loupe, and minimal adhesives may range $10–$30. One-time cost amortized over multiple small fixes.
- Material Costs: Replacement jump rings/clasps may cost a few dollars each.
- Risk of Additional Damage: Improper DIY may necessitate more expensive professional repair later, offsetting initial savings.
- Time & Convenience: DIY can be immediate but may consume time learning techniques and trial-and-error.
4-2 Professional Service Costs
- Replating: Depending on region and plating thickness, typically $20–$60 per piece for vermeil-standard thickness; can vary with gold karat used.
- Repairs & Resizing: Clasp replacement or solder work often $15–$50; stone resetting may cost $20–$80 depending on complexity.
- Comprehensive Maintenance Packages: Some jewelers offer bundled services (inspection + cleaning + minor repairs) at a fixed fee.
- Value Proposition: Professional repairs preserve piece longevity and appearance; avoids risks that DIY might introduce.
- Insurance Consideration: For high-value pieces, professional repair can maintain coverage eligibility.
4-3 Balancing DIY and Professional Choices
- Immediate Minor Fixes: DIY acceptable for truly minor, low-risk emergencies (e.g., gently closing a slightly open jump ring).
- Critical Repairs: For plating restoration, soldering, or stone resets, professional service is recommended to ensure durability and avoid irreversible damage.
- Cost-Benefit Outlook: Occasional professional service on high-quality vermeil pieces prolongs their lifespan, maximizing “cost per wear” over time.
5. Preventive Care to Avoid Emergencies
Proactive maintenance reduces emergency repairs and extends the life of S925 gold-plated jewelry.
5.1 Regular Inspections
- Frequency: Inspect clasps, jump rings, and settings every 2–3 months for early signs of wear or looseness.
- What to Look For: Slight gaps in jump rings, dull plating spots, minor prong looseness.
5.2 Proper Cleaning & Storage
- Cleaning Routine: Use mild soap and water, soft cloth; avoid abrasive cleaners or ultrasonic baths unless recommended by professional for vermeil.
- Storage Tips: Store pieces in separate anti-tarnish pouches or lined compartments; avoid humidity and direct sunlight.
- Avoid Exposure: Remove jewelry before swimming, bathing, exercising, or applying lotions/perfumes that can degrade plating.
5.3 Timely Professional Maintenance
- Scheduled Check-Ups: Bring frequently worn pieces for professional cleaning and inspection annually to catch issues early.
- Preemptive Replating: When plating shows initial thinning (e.g., slight silver peeking), consider replating before major wear occurs.
Conclusion
Balancing DIY emergency fixes and professional repair services ensures your S925 gold-plated jewelry remains beautiful and functional. Use simple home repairs for minor clutch or jump ring issues, but entrust plating restoration, soldering, or stone resets to experienced jewelers. Proactive care, regular inspections, and timely professional maintenance maximize the lifespan and “cost per wear” of your vermeil pieces.


